Other
2-axis GoPro Gimbal v3.0
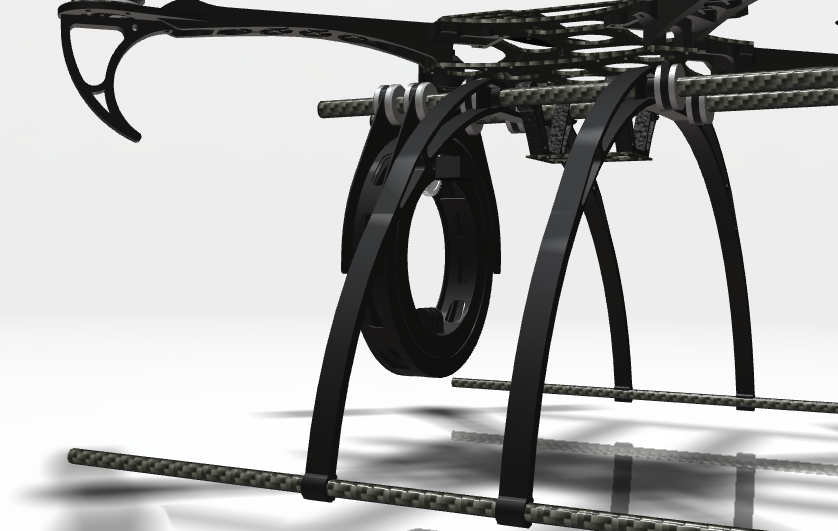
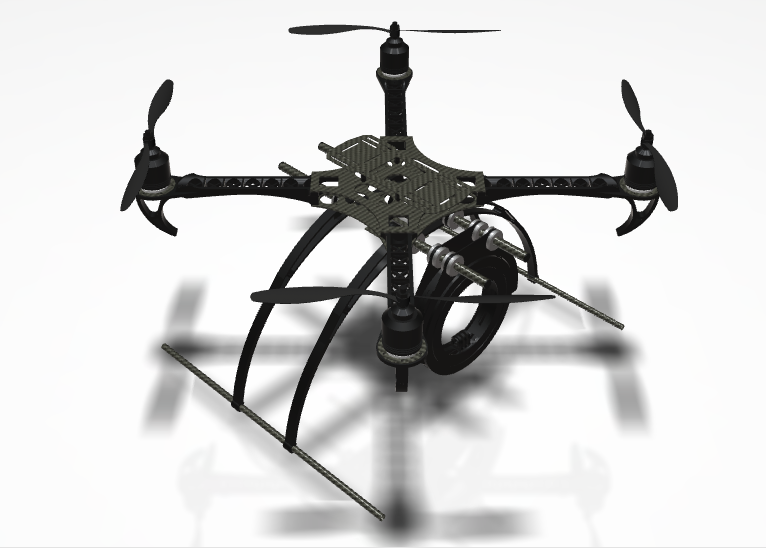
This is a another 3D printed 2-axis GoPro gimbal. It is a prototype made to support the Gopro while mounted inside of the polycarbonate enclosure. The mounts are designed to work with the Xaircraft DIY frames. The roll mechanism works on a rail system and a series of gears that take the +/- 90 degrees of servo travel and rotate the inner ring by +/- 55 degrees. The pitch mechanism is directly driven from the servo. The mount is made to use Xaircraft rubber rings for vibration dampening. If you would like to see the mount resigned to meet alternative specifications you can contact me with dimensions at adam@polakium.com. The mount is currently in the prototype stages because, unfortunately, due to the complexity of the 3D print, Shapeways will not apply a volume discount to the amount of material being printed and the price to print the model is therefore twice as expensive.
Purchasable from my shop at Shapeways.
This gimbal is currently in the beginning stages of development, the latest version can be downloaded here.
12/27/2012 – This model’s development has been discontinued. For my latest gimbal, see here.
The following items are not included and must be purchased separately:
[Qty. 2] 9G EXI Digital Metal Geared Servo [Qty. 2] 3x7x3 Ceramic Ball Bearing
You will also need a suitable bolt for mounting the GoPro to the gimbal. The gimbal connector is designed to fit the polycarbonate GoPro enclosure just as any other gopro mount does, however, the stock bolt handle is too long.
Assembly is fairly simple, much of the gimbal is already assembled.
1.) Insert the roll bearing into the inner ring.
2.) Insert the 35 tooth gear into the roll bearing with the 10 tooth gear facing away from the bearing. Be sure that the roll ring is properly centered along the rail before the 35 tooth gear is meshed with the outside ring.
3.) Fix the 30 tooth gear to the roll servo, center the servo, and then either bolt or glue the servo to the inner ring.
4.) Insert the pitch bearing into the middle ring.
5.) Attach the pitch servo to the outer ring using either glue or bolts.
6.) Center the servo and insert the servo gear into the hole opposite the pitch bearing.
7.) Use the screw supplied with the servo to fasten the pitch servo gear to the gimbal.
8.) Insert the pitch pin opposite the pitch servo and glue it in place.
9.) Now the rubber dampers can be inserted into the gimbal mounting holes and the gimbal can be attached to the loading pipes of the frame.


More pictures of the gimbal will be posted as soon as I can manufacture a working prototype.
