Flight
Micro FPV Multicopter
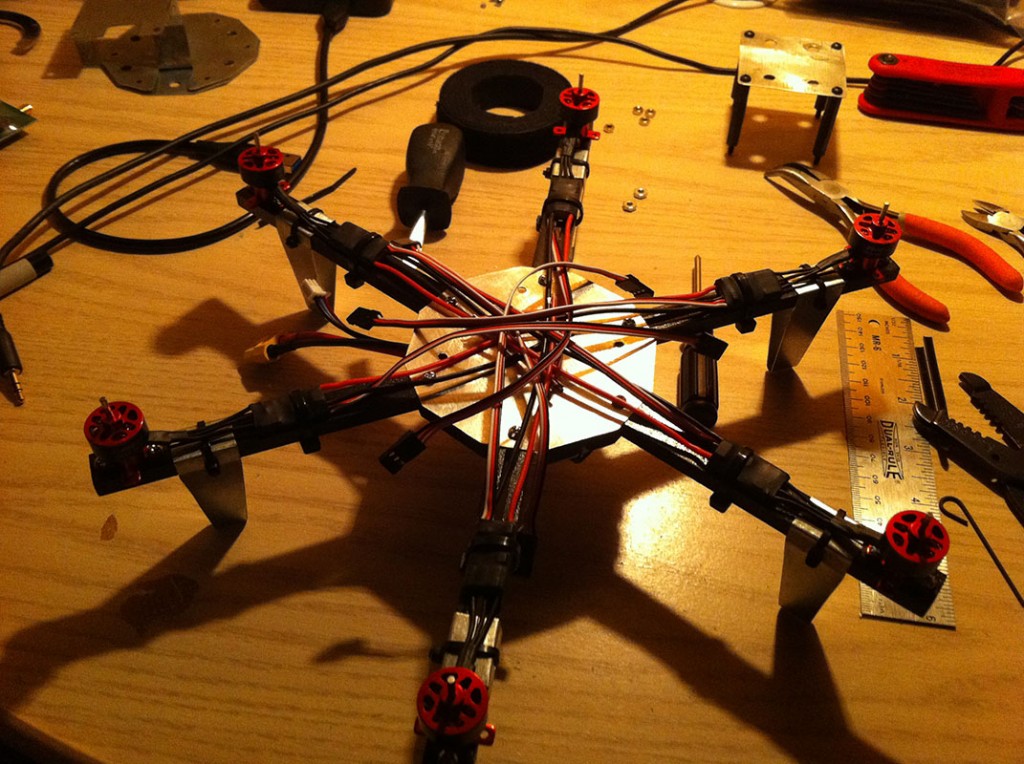
After giving FPV a go for the first time with my X4 Drone, I found it rather difficult to fly on such a large and heavy platform. I was too overly cautious of crashing. Therefore, I decided to build a durable micro to practice FPV. I began with the intention of making a hexacopter frame, but after damaging two motors I decided to make it into a quad instead. Here I will document the build of the hexacopter up until it became a quad. At this price, I would suggest ordering at least one or two extras of each component.
Parts List:
[Qty. 6] 2900kv Brushless Outrunner [Qty. 6] 6A Brushless ESC [Qty. 1] 6x 5030/R Props [Qty. 2] 2S 1000mAh Nanotech LiPo [Qty. 1] Pico 5V Wide Angle Camera [Qty. 1] Camera Cable
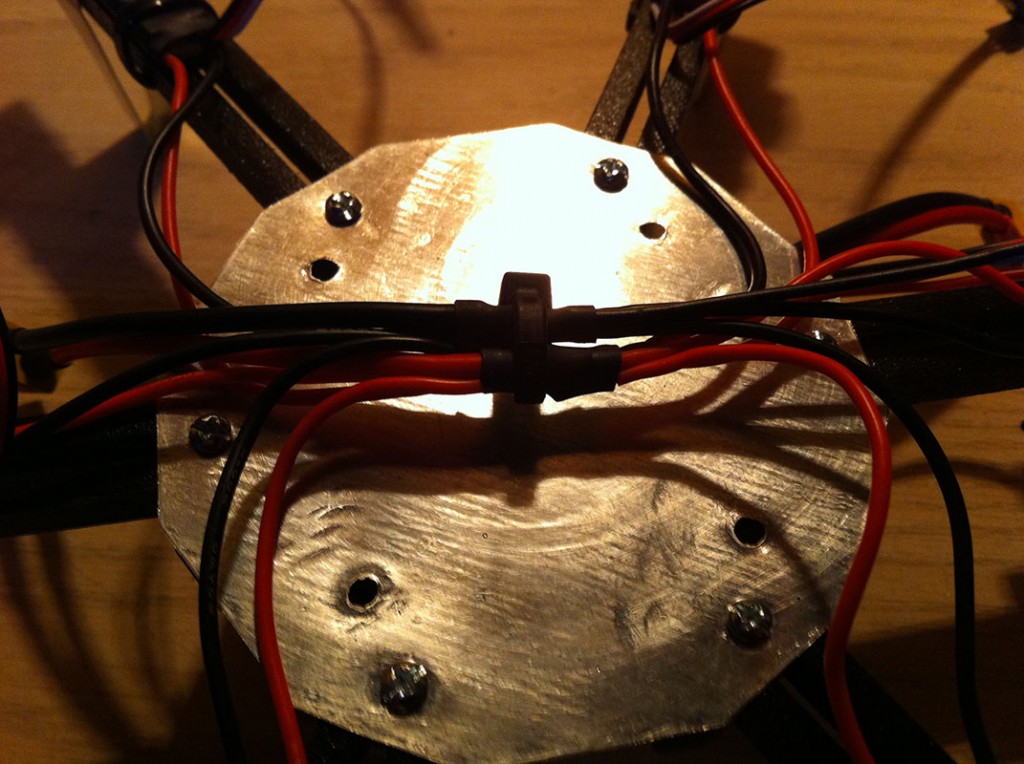
I built the frame from a thin sheet of aluminum and some basswood. The arms are made of two 1/4″ x 3/16″ pieces of bass wood separated by several small 1/8″ pieces. This allowed me to place gaps between the arms for the bolts without having to drill out the small holes. This is a schematic of the frame, it can be scaled to fit various size components, but it is designed to be used with the parts listed above:

The aluminum plates and legs were cut and drilled using these templates:

The original model used the standard Fatshark CCD killer camera, but I decided to use the pico camera instead.

After reflashing the 6A ESCs with SimonK firmware, I covered them in black heat shrink and directly soldered them to the motor wires. The motors are all bolted to the frame and the wires secured with small cable ties.

The power distribution includes an additional lead for powering the video TX.

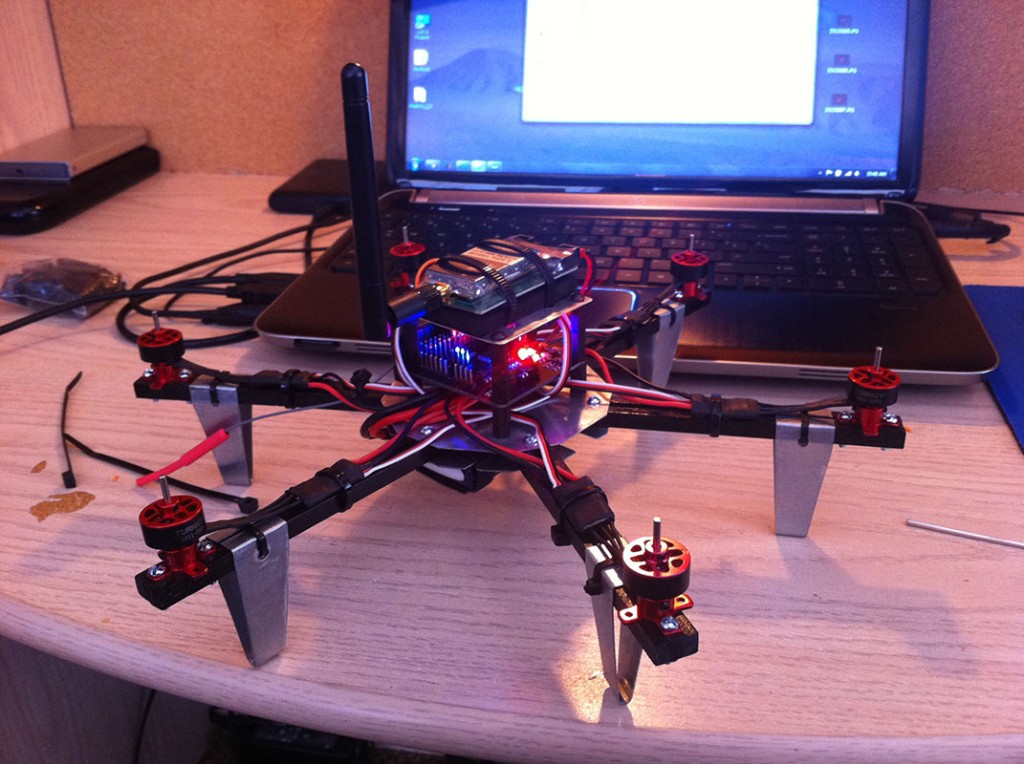
Finally, I assembled the top plate with all of the electronics and a MWC Crius SE flight controller with MultiWii 2.0.

I used the camera with my 100mW Fatshark video transmitter, it should be compatible with any other NTSC FPV setup as well. The pico camera is extremely small, easily hot glued into place and removable if necessary. The weight of the camera is hardly even measurable and it seems to have quite good light sensitivity, even in very low light. I must mention that the props I ordered are very well balanced, perfect for this micro, however, they must be installed carefully as to not damage the motor. To install the props I removed the lower mounting bracket of the motor to expose the base of the shaft near the c clip. Placing the prop around the tip of the shaft I secured the motor in a vice and applied pressure until the prop was completely secured. The key is to remove the lower mounting bracket and ensure that the base of the shaft near the c clip is flush against the wall of the vice, otherwise the force will push the shaft through the bearing and damage the motor. If this happens then the motor will not function properly and must be replaced. Another option is to use the prop adapter supplied with the motors and some 3 bladed props such as the 5x3x3 or 5x3x3R. However, these props and prop adapters are horribly balanced, I haven’t even attempted balancing them yet.
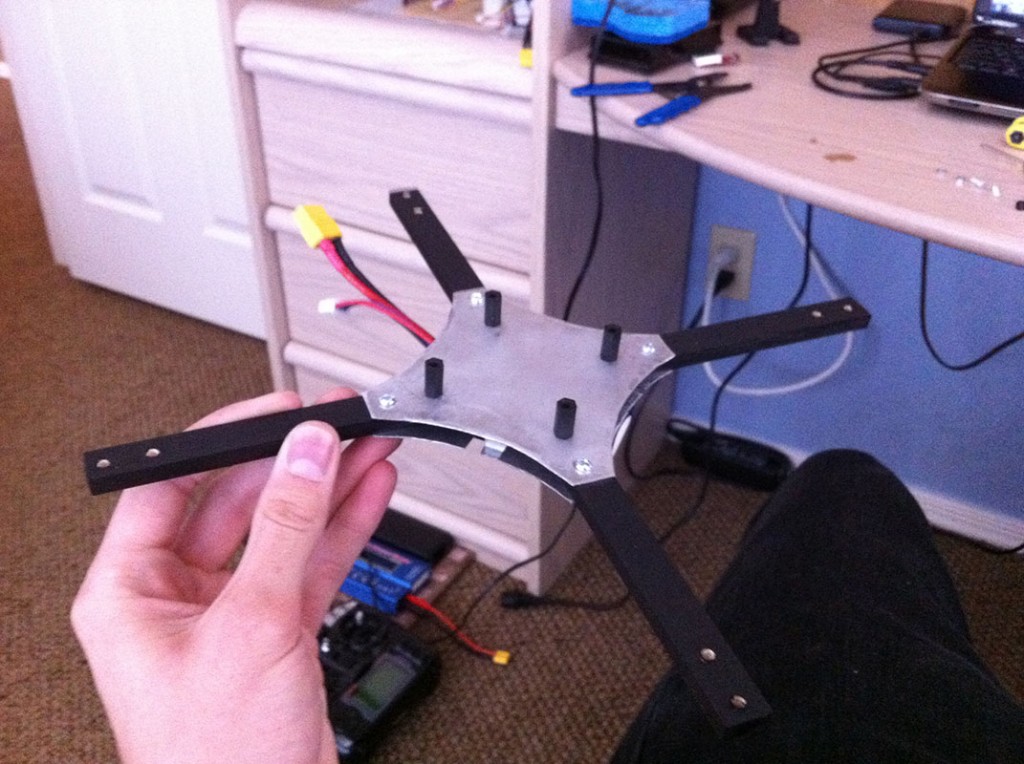
After damaging two of my motors, I decided to make my hexacopter into a quadcopter. I redesigned the frame to resemble my X4 drone. It uses thin aluminum plates and some 3/16″ by 3/8″ bass wood for the arms.

With a 1000mAh LiPo I get about 7 minutes of flight time with fpv gear. The motors supply more than enough thrust to recover from fast drops and the flight controller required absolutely no PID tuning. It is extremely agile, stable and responsive. With such little weight it takes many crashes without any damage to the frame, motors or props.
